Sunday, January 29, 2012

Silk Tie Quilt

I'm not very good at finishing a project before I start on the next one.  I've been prepping these ties for a couple weeks.  I machine washed them, let them air dry, then used a seam ripper to disassemble the ties.  After ironing the ties flat, I used a lightweight fusible interfacing on the back of each of them.

This weekend, I cut 6" squares from the wide part of most of the ties.    Some of them had wear marks that showed when they were opened up.  I also set aside the yellows and a green for later.

Remember how I complained about this technique for HST?  It put all the joining edges on the bias.  Since the tie was cut on the bias, it makes the outside edges straight of grain!  Well, at least for the tie pieces.  I found a yard of blouse-weight grey silk in my stash (purchased 20 years ago, before children, when I wore silk all the time, and thought I'd have the time to sew clothing. LOL) which I used for the contrast color.

The grey edges are on the bias, but the interfacing that I used is keeping it from stretching.

Here are the first 4 of 16 pinwheels.  They are currently at about 7".  Next step will be adding some tie strips around each.  I'm letting this quilt evolve one step at a time.  Stay tuned to see what's next.

I continue to make progress on hand quilting the Double Wedding Ring.   I've been hanging out a lot on Celebrate Hand Quilting.  You can see my recent post about this quilt and give your suggestions on that post.

And I have a few more panels put together from my old-stash green for the FMQ panels that I started working on earlier in the month.   I actually thought that I had a lot more of these greens when I designed this project.  I'm either going to have to use some that are more olive, or buy new forest green to finish up.

Tuesday, January 24, 2012

Pun Winners!

We picked our favorite puns, and then randomly selected the prizes that went with them.


Sallie said...
After careful planning, a thief in Paris stole paintings from the Louvre, and made it safely to his van.
He was captured only two blocks away when his van ran out of gas.
When asked how he could mastermind such a crime yet make such an obvious error, he replied, “Monsieur, that is the reason I stole the paintings. I had no Monet to buy Degas to make the Van Gogh.”


Quilting "b" said...

A man walks into a doctor's office and asks the doctor to inspect his leg. The man says, "Here, put your ear to my knee."

The doctor puts his ear to the man's knee and hears very faintly, "Come on, can I have five bucks, just five bucks?"

The doctor steps back in horror, and the man says, "I know, but it gets worse. Put your ear to my shin." The doctor puts his ear to the man's shin and hears very faintly, "Come on, can I have ten bucks, just ten bucks?"

Once again, the doctor stands up, very perplexed. The man then says, "If that surprises you, put your ear to my ankle." The doctor puts his ear to the man's ankle and hears oh so faintly, "Come on, can I have twenty bucks, just twenty bucks?"

The doctor then stands up and says, "Well, I can I make just one conclusion. Your leg is broke in three places." 


Pippa Parsons said...

When people first heard of ABS, it was braking news

Ella said...
What do you call the short fortuneteller who escaped from prison?

A small medium at large.

Gwen said...
A vulture boards an airplane, carrying two dead raccoons. The stewardess looks at him and says, "I'm sorry, sir, only one carrion allowed per passenger." 


Thursday, January 19, 2012

QBL Donation Quilt

The Quilt Block Ladies have been putting together 5" charm squares to make donation quilts for a local women's shelter.  I managed to sweet talk my way into this set of fabrics before the slicing began.  I wanted to combine long strips of 5" wide fabrics with the charms as well as making some HST and using a solid border to add a little variety to the quilt while still keeping it fast and easy.

I am making progress at "random" and "scrap", but I still have issues looking at, let alone working on wildly multi-color quilts (which I refer to as "Ativan Quilts" since they make me serious anxious just to look at them).  Which is funny because I love fun, bright colors.  I can only handle 4 together at one time though.

Tuesday, January 17, 2012

Post 300

I was trying really hard to make Post 300 something really amazing (you know, like finishing 3 projects in one week).  Especially since there would be guests from Esther's and Lee's Blogs.
But there were distractions.  Plenty of distractions.

Saturday morning I finished cutting strips, making kits and taking tutorial photos for the Quilts of Valor, QAYG project.

Saturday afternoon I hung out with the Quilt Ladies.

Saturday night, I watched football playoffs, drank beer, and designed a quilt that combined squares, rectangles and HST into an interesting design.

Sunday, I discovered that my math skills are impaired when I'm watching football.   Fortunately it was an easy fix and I got all of it cut out and these 5 strips pieced.

I posted a tutorial, watched more football and did hand-quilting on the Double Wedding Ring.  I'm up to about 50 melons finished - over half way.

Monday, I decided I would completely finish the yellow string quilt.  I had mis-judged how long the hand stitching the binding strips would take.   But I don't mind hand work and my favorite thing to watch while I hand stitch is Cake Boss.  Unlike other food shows I can watch episode after episode...because I don't like cake.  I'm just impressed with the design elements.

I had failed to consider that the teen who was off for the holiday is always hungry, and that she and her friend who spent the night have basic cooking skills.  They only made it through one episode before they decided they needed to learn how to make a red velvet cake.  I was required for periodic coaching.  Apparently it turned out OK b/c this is all that's left.

 I did finally finish the gold, QAYG string quilt.  But nothing else.  Maybe I'll have better luck next weekend.

Thanks for all of your great pun entries!  Remember that you have until the evening of Jan 24th to enter.  One entry per person.    And remember to follow the link to Renae's blog where she's offering a bonus prize that requires a separate entry.  

Sunday, January 15, 2012

String QAYG


I've been using a quilt-as-you-go method to do a yellow string quilt and was so pleased with the results that I decided this could be a fun Quilts of Valor group project.  Several of The Quilt Block Ladies (a local quilt group that has let me join the fold)  have decided to join with me.

This tutorial is for them.  Cheers!
(I've added more info with each step if you're making this project with your own fabrics)

Start by placing the red strip face down, diagonally on a flat surface.  Line up the corners of the batting square so they are centered on the strip.

(The red becomes a diamond shape sashing throughout the finished quilt.  If you use this approach later, pick out something that contrasts from the strips.  I cut mine 2"wide, and the batting 10.5" for a 10" finished block. )

Place the backing fabric (also 10.5") over the batting, right side up.  Pin the 3 layers together and flip the sandwich over.

Pick any of the long blue strips and place it face down, lined up on the right edge of the red strip.  Pin strips in place so that red strip stays centered.   Remove the pins from the back that were holding everything together.

Prepare all 4 squares this way.  You'll do the same steps on each square at the same time - like chain piecing.   I find it most time effective to work on 4-8 blocks at the same time which is why I included 4 squares in each kit.
Stitch 1/4" seam, using your walking foot and any shade of blue thread.

 If you don't have a walking foot, you should be fine, but just be sure not to pull or stretch the block as you feed it through the machine since you are sewing on the bias of the backing fabric.


Finger-press this seam open by running your finger or finger-nail along that seam line while it sits on a flat surface.

Continue to add strips toward one corner.  It's helpful to trim those tails off so they don't get in the way.  I sort those tails into Long, Medium, Short piles so I don't end up at the end of the project with a zillion short pieces when I need some long ones.

I pre-cut the strips in variable widths between 1"-2".   If you add your own fabrics to the ones provided, please keep them in the same widths.

In my experimental piece, I had some 2.5" strips, but they seemed too big for a 10" square.  Other string quilters use wonky shapes instead of strips.  You can play with size and shapes when you try this approach with your own scraps. 


   Continue these steps to the opposite corner.
That's it.  The Quilt Block Ladies will turn their blocks in to me at the February meeting looking just like this.  


Please don't trim them to size.... or I'll have to have Becky kick your butt.

When I get them, I'll trim them to size this way.  Notice that I've lined up the 1" to the bottom right, and the diagonal line runs evenly up the center red diagonal.  Before I trim, I make sure that I'm lined up so that I'm trimming a tiny bit (1/4" or less) of the backing and batting (remember I made them 1/2" larger than my goal size.) and I'm sure that there's still 10" worth of block left.


Then spin the block around and line up the edges on the 10" lines and trim the other 2 raggedy edges.  


This is the link to the Welsh Quilter blog that shows the technique for joining the finished blocks.

Thursday, January 12, 2012

Very Pun Give-Away

I get such joy in sharing my quilting addiction with other people.  I've been so very (well, kind-of) good about not buying much fabric lately that I can use this month's fabric budget to pay for postage to mail prizes all over the world!!!

I arbitrarily picked January 25th as the date that I would select winners for my give away as it is the birthday of the venerable Harley Dude, a date I was unlikely to forget.

Besides being a great dad, my Dear Husband Harley Dude (...ok, that's funny...how often can does your title and nickname combine to be a palindrome?)...uh...where was I...oh yes!  DH,HD is a renowned pun-master.

To qualify for prizes, you must submit as your entry, a very funny pun as a comment on this post.  Did you sleep through English class?  By definition, a pun is "a humorous use of a word in such a way to suggest two or more of it's meanings, or the meaning of a word similar in sound."

The only clean jokes I know are actually puns.
What did the fish say when it ran into the wall?  Dam.
Two peanuts walk into a bar.  One was a salted 
A man walks into a bar with a piece of asphalt under his arm.  He says "I'll have one for me, and one for the road". 
A rope walks into a bar.  The bartender says "we don't serve your kind, now get out."  He goes outside, twists himself into a knot and then fluffs up his loose ends.  He returns to the bar.  The bartender says "Hey! Aren't you a rope??"  to which he replies "Nope...a frayed knot."


Each day from now until January 24th, I will read the entries to DH,HD.  His favorites entries of the day will be entered into a good-old-fashioned-pieces-of-paper-drawing for the very cool prizes (which I'm about to tell you about).   I will announce the winners bright and early (Mountain Time) on January 25th before I go to work.  One entry per person.

One my favorite quilt bloggers is Frauke at Quilthexle's World.    I find her style of piecing very inspirational. Recently she seems to have become addicted to dying fabric.  This is phenomenally good news for all of us.  There are gorgeous dyed fabrics available in her etsy shop.  She has put together a set of beauty just for us!! The pieces are hand dyed from upcycled damask fabric.  There are 4 pieces in the set, sized about 21"x 32".  Be sure to check out her other fabrics and projects.     


Renae Allen, in addition to being a wonderful person, is the reason that I am learning to Free Motion Quilt (FMQ) on my home machine.  I've known Renae about 20 years as friend-of-a-friend.   I could fill an entire page with "nice quilty things Renae has done for me".  But in May...she let me FMQ on her machine.   The good news is that I discovered that most of my FMQ issues were resolvable with a new foot for my machine....well, that and a good dose of confidence.  Renae has created an entire FMQ practice concept with a combination of videos, pamphlets and  pre-printed practice panels.   Renae looks at traditional quilt patterns and considers multiple ways to quilt them.  She has offered the Design Builder's Package  from her website as a prize for the Pun give-away.This includes the book, DVD and the fabric panel shown in the video above.   BUT WAIT!  That's not all.  She is doing a bonus give away.  If you answer a question on her blog, you are eligible for an additional prize. Post your answer on her blog to one of the following questions: What is your worst free motion quilting (FMQ) disaster?OR What is your greatest FMQ challenge? She's giving extra chances to win the bonus if you follow her blog.    Enter puns on this blog,  FMQ stories on hers. 


I have 3 prizes from my stash: 
I met these authors at the May 2011 Quilt Market.  Colleen uses paper piecing to make those intricate, seeming impossible medallions.  Donna's flip method makes intricate piecing simple.  Both of my autographed copies will be sent to one lucky winner who will hopefully USE them instead of just admire them as I did.  


And for those of you who like smaller projects, an autographed copy of Gudrun's book on table runners plus Elissa & Heather's bag patterns that include full size applique patterns (I was all excited about skipping the copy-shop step).  


I carefully laid these batik charm squares from my stash out for a picture, then after they were stacked up,  discovered that I didn't have the memory card in.  You'll just have to trust me that they are gorgeous in shades of blue, purple, green, pink & yellow.  There are 103 squares of all different batik fabrics (no repeats). 


So that's it.  5 prize packages.  To enter, add your favorite pun as a comment on this post. 


Tuesday, January 10, 2012

Justified Paranoia

I decided that I'm overdue to make some Quilts of Valor.  I picked up some red fabric at the chain fabric store on the way home for work.  I also had some reds in the stash, so I threw them all into the washing machine on hot, since I inherently distrust red fabric.

The pink selvage proves that my misgiving was well founded.

Even while it was in the drier I was dubious about it's potential malicious intentions.

So I washed a second time in hot water, with a color catcher.

Damn Red.

The blues really weren't much better behaved.

So much for my idea to make a red/white and a blue/white quilt.  The blue and red will have to go together.  It's the closest I can come to "time out" for fabric.

Meanwhile, I've been searching the Internet for every silk tie post I could find for ideas and I finally ran across one that told me what I wanted to hear.  One blogger said to just throw them in the washer, disassemble them and press them on cotton setting with steam, then back with fusable.  If I ever find that site again I promise to let you know and give proper credit....

You see, it's been one of THOSE weeks at home and work.(so very much more complicated than I'll share with the world).   I hate full moons.   So, this was my evening... hovering over a washing machine, watching it create macrame out of a box of ties while drinking beer (uh, oh yea, I gave up alcohol for the new year. Fail.) and wondering how much silk ties really do bleed.
What do normal people do for entertainment?


Saturday, January 7, 2012

Shower Epiphany

I always get the most amazing ideas in the shower.  It must be the timing of when the subliminal stuff from my dreams hits the morning caffeine.  Friday morning I solved 3 quilting dilemmas at once.

I had designed a fall themed quilt for my friend Carol.

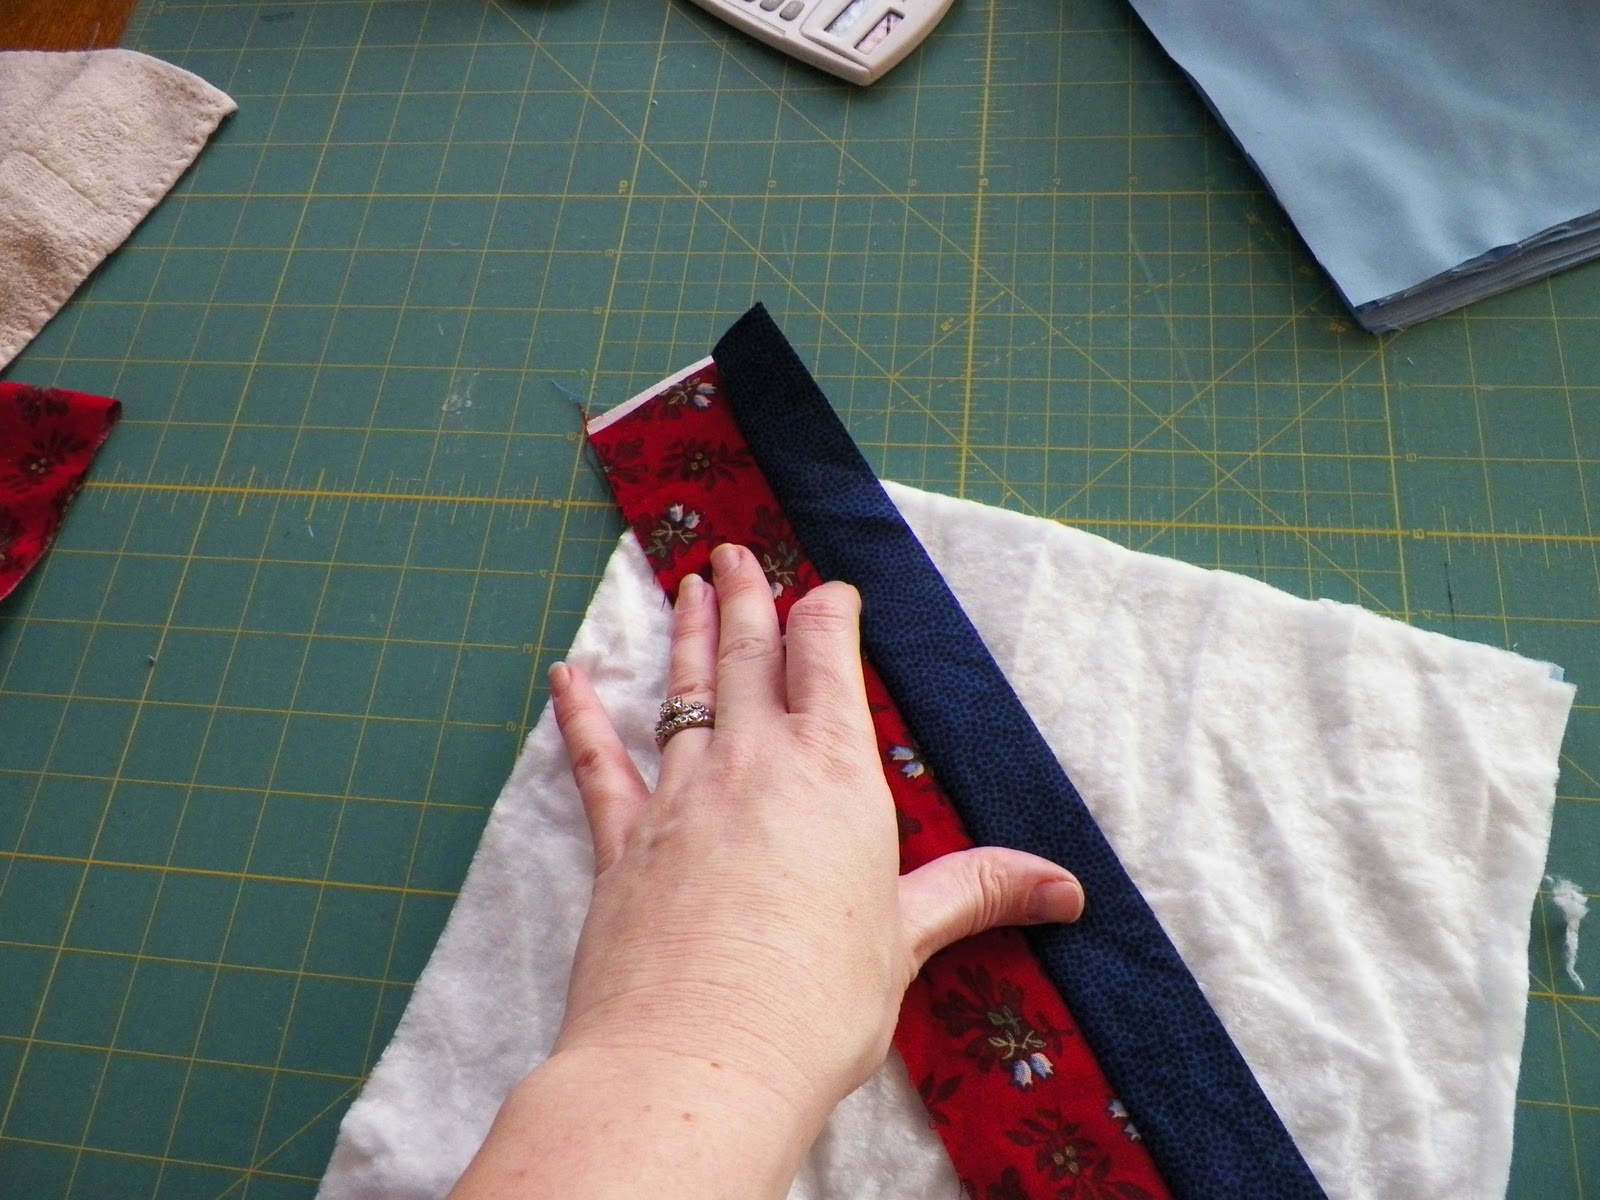
The idea was to make the gold, orange and red as long strips of crazy patch with solid greens between.

I had finished about 30 inches worth of crazy patch before I decided that I wasn't loving the idea.

Last night I drew out the design that popped into my head in the shower,  and today started cutting out fabrics.  The idea is to make the stripes in smaller sections (typically 8-12 x 12-16 inches) and use those blocks for my FMQ Challenge blocks (project solution 1). I need more than 12 since I also want to try Trapunto this year and I want to try some designs to use on my Ojibwe Beadwork Inspired quilt which is waiting for me to become good at FMQ before I attempt to quilt it (project solution 2).

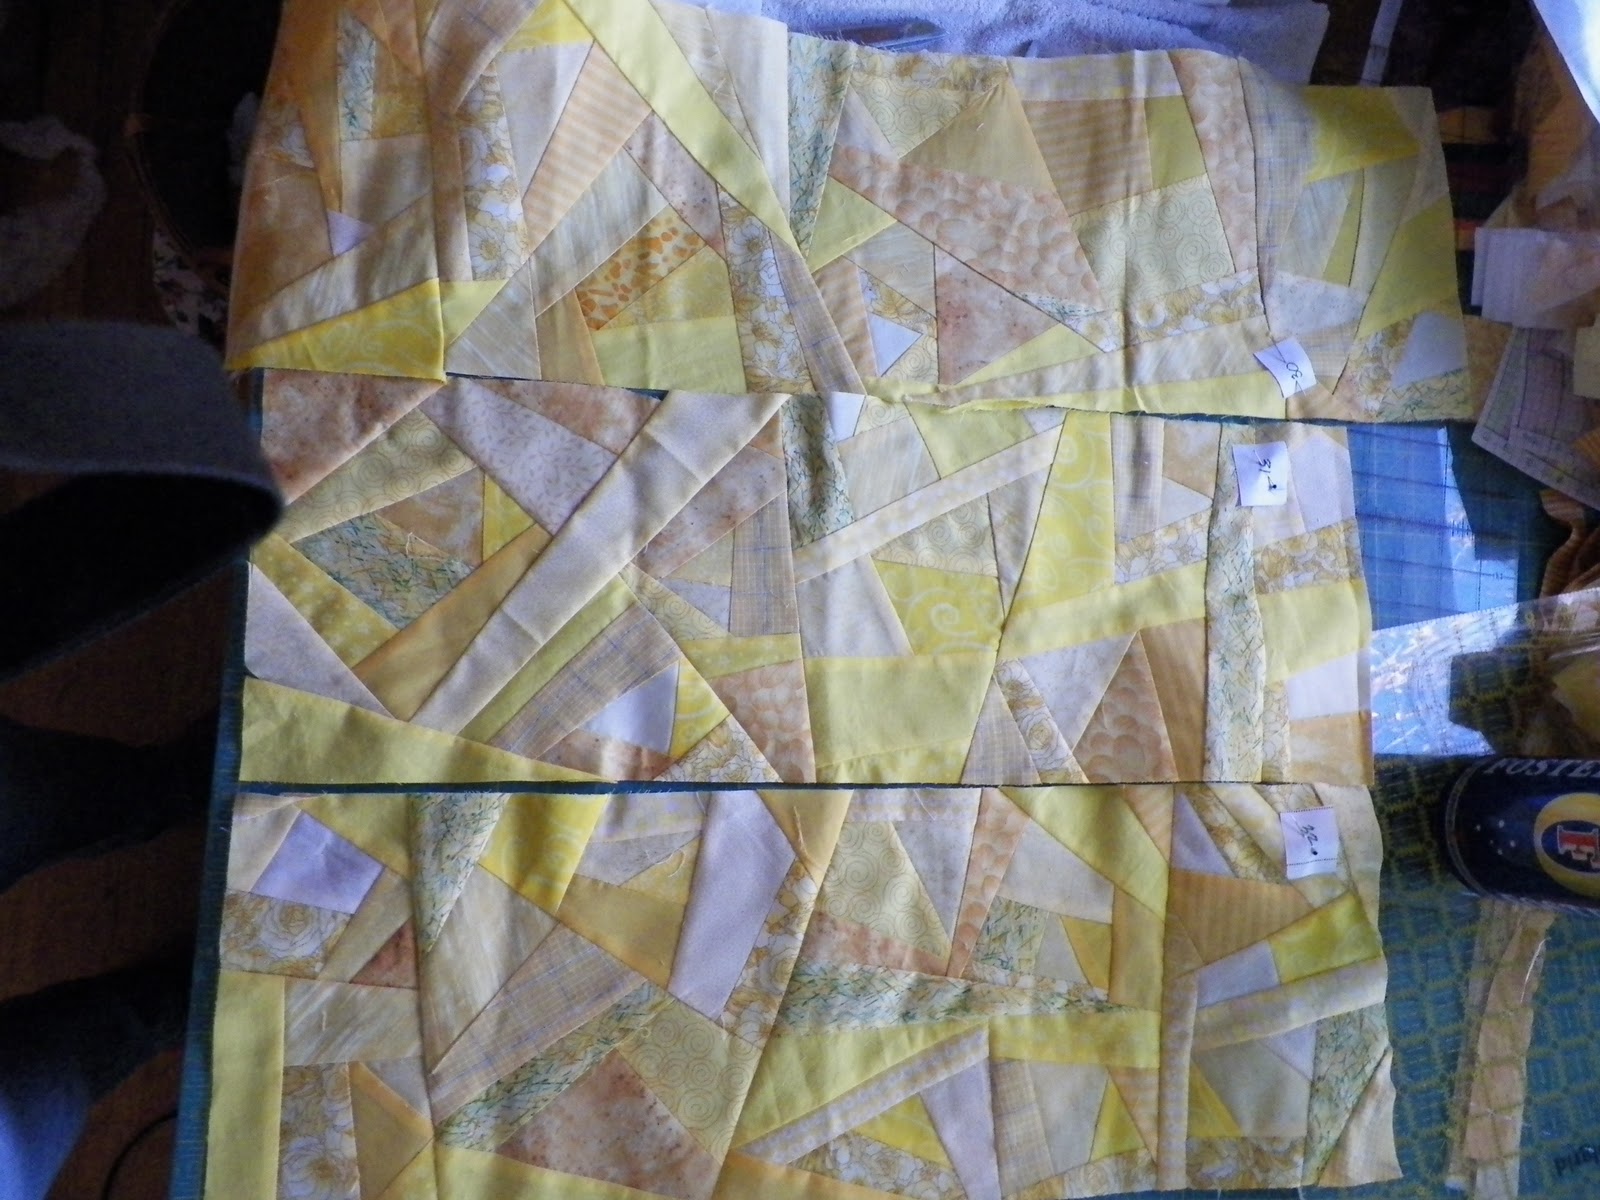
 By lunch time I had managed to cut out all the gold and yellow sections that will go into the quilt.  After I got those sections cut to size, I had enough yellow fabric to use on those stripes on the back of the quilt too.   I had another idea for the extra fabric....

...but first, I needed to finish 2 sections of yellow crazy 8x24, which I accomplished by early afternoon.

Meanwhile, I've been admiring string quilts on line.  And I absolutely loved the yellow zig-zag quilt that I made for my sister-in-law.  So all that gold fabric I had left over seemed a perfect candidate for a yellow & white string quilt.  Plus I could do a quilt-as-you-go method AND use up the bin of poly batting that I just found in the garage (project 3...maybe 4 & 5 too if using up terrible batting counts as a project as does learning an new QAYG technique).   I found a great QAYG technique tutorial at Welsh Quilter that I will use for both the string and the FMQ project.

Technically, these projects also solve quilting dillema 4 (or is that 6?), which was that I bought the green, red and gold fabric originally to do a Baltimore Album Quilt.  I've been collecting fabric for that quilt for so long though, that I'm now disappointed in the quality of many of the fabrics I collected.  This can be my excuse for only making pillows rather than a full Baltimore Album quilt.

I need to get all that done, because I've been taunting my brother Rick that since he was retired, he could send me a bunch of his old and/or ugly silk ties.  They arrived this week.  These are the ones that I think I can manage to play nicely together.

I'm still deciding on a pattern.  I'm planning to stabilize with a lightweight fuseable.  I'm psyching up to pre-wash so it won't have to eternally be dry cleaned.


OK...back to the sewing machine.  No, wait, football and hand quilting.

Tuesday, January 3, 2012

Free Motion Quilting


I've committed to the Free Motion Quilting Challenge at Sew Cal Gal.  The January tutorial is by Frances Moore and involves heart shaped leaves.
  Since I already had a practice piece on the machine, I added some large sections of these leaves.  The heart shapes came easily to me, but I really had to work at making sure the leaves were pointing different directions.

I need to make up my mind on how I'm going to do the sampler...I keep thinking that I may add other blocks and try more than 12 designs.
My hubby bought me Leah Day's From Daisy To Paisley and From Feathers To Flames for Christmas.    This section of the panel shows Pom Pom Parade done in pale blue with Frances' leaves above and below.

Modern Art (kind-of)

Paisley

some random square stippling

Tree Bark

Circuit Board

What started as Bubble Wand but I added and extra wands.

Spirals

Pebble Paisley

Echo Arches

I have learned several things with this set of stitches. 1) I really like designs with pebbles.
2) I am happiest about both the stitch length and the design shape when the repeat is 2 inches or less (like all the Paisley variations and Echo Arches).
I believe this is related to the fact that I don't have a machine table  or extension which means I have 3 inches to the left, 2 in front and 6 to the right of the needle in which to place my fingers to steer the fabric.

I'm off to change back to the walking foot so I can do a simple & fast straight line stitching on $2.25 Plus Tax, the quilt to which this sampler pillow case will belong.

Monday, January 2, 2012

Finished Aprons

I finally finished The Emmeline Apron from Sew Liberated.   However, I had to add a large pocket to hold scissors and combs and such for my cosmetologist daughter.  And I spent far too much time fussy cutting the pocket so it exactly matched the apron print.  I think it was time well spent.  My other variation from the pattern design was to use some black/white fabrics from the stash for the top/bottom bodice bands.  The fabrics are Brother Sister Design Studio purchased at Hobby Lobby at a considerable discount. (I didn't even know they sold fabric there until a couple weeks ago!)

The photos above are the 2 sides of one reversible apron and the photos below are of the second apron.  I'm still awaiting the Nikwax to make them water-resistant before they are really finished.

OK...now back to whatever it was that I was sewing before I started the apron project.