I have a new favorite fast quilt.
I used their EQ7 design as inspiration for the following quilts.
Round 1 was a donation quilt using lots of leftover strips. The greens all look different in different light, but the concept shows up with the contrasting zig-zags. It actually looks better in the photo than in person. I need to buy poly batting to finish this one since it's for
Threads in Faith that ties quilts with prayers.
So I dug through the batik stash, looking for a transitional color variation. I am always surprised when I sort the stash and realize how many orange/pink combinations I have.
Or Not. This was my childhood luggage. Yes, I still have both pieces. It explains a lot.
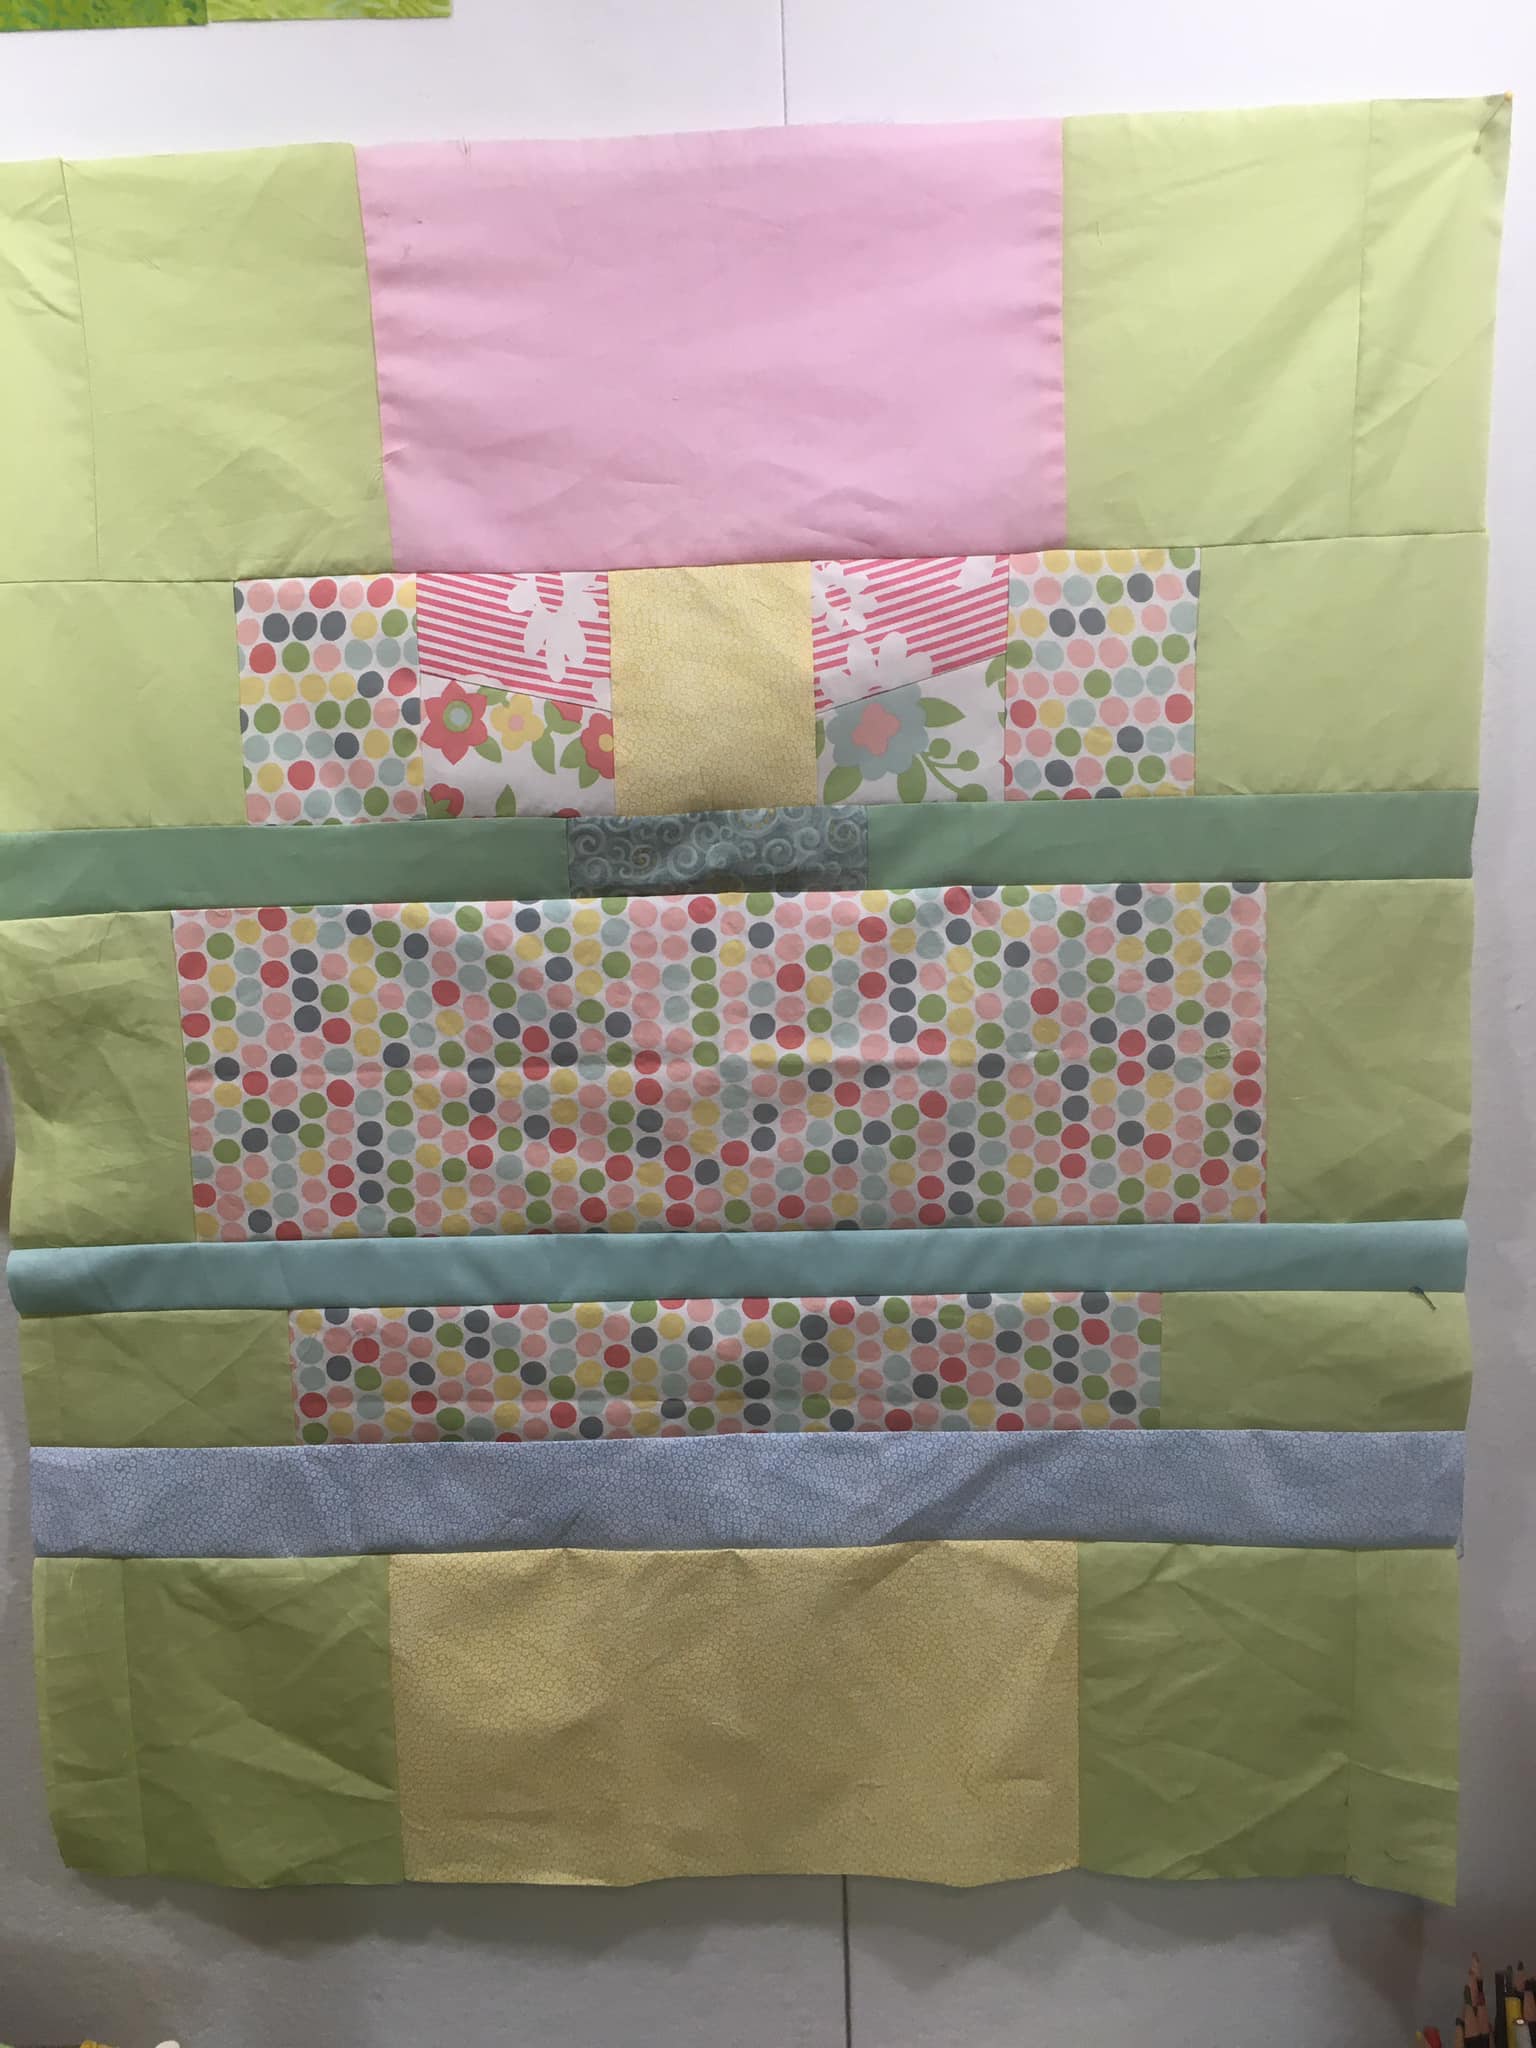
Meanwhile, my plan was 10-11 strip sets. 2.5" strips with 5 colors gradation dark to light. Turned out that some of the stash were fat quarters or missing chunks, so things didn't go to plan, but still needed 40 squares. The directions noted needing an A and B square that alternated with dark on the left or right. I cut them as 10.5 blocks, a little proud, for wiggle room on the final trim.
I'm glad I didn't go to the reference sites before I made my plan as they were far more complicated than necessary. By stacking a light strip and dark strip at the top, I could draw a diagonal line and sew on either side to make a HST without bias stretch. Which ends up with the A and B variations.
One thing that 40 years of quilting has taught me is to square up blocks, especially if anything is on the bias. Final trim was for 10". I was expecting 9.5", but I think many of my seams were a scant 1/4"
That took off up to 1/4 " on some blocks and nothing on others.
Finished of the sides with a mid-tone color to match the right and left, but leaving the zig-zag on the top and bottom.
Final dimensions are 67" square at the wide spots, but 55" at the inner side of the zigs.


.JPG)


